Routemaster Differential

|
|
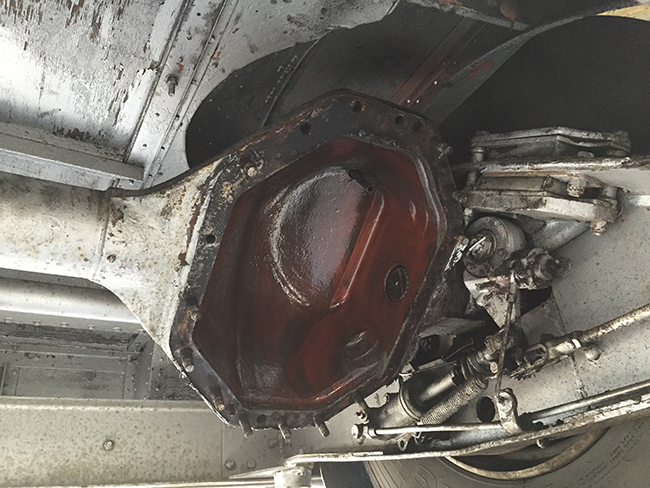
| Rear axle after removal of faulty differential | |

|
|
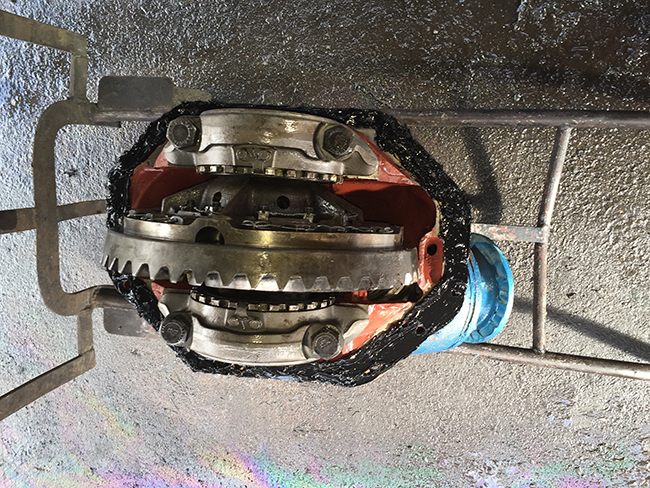
| Replacement differential ready for installation | |

|
|
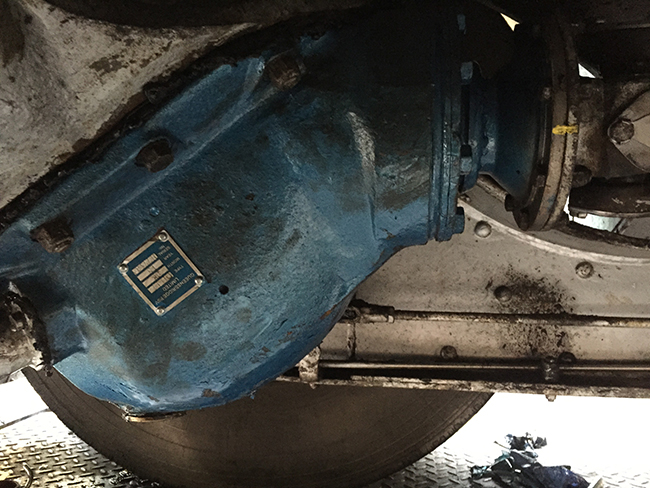
| Differential all bolted into place on the axle | |

|
|
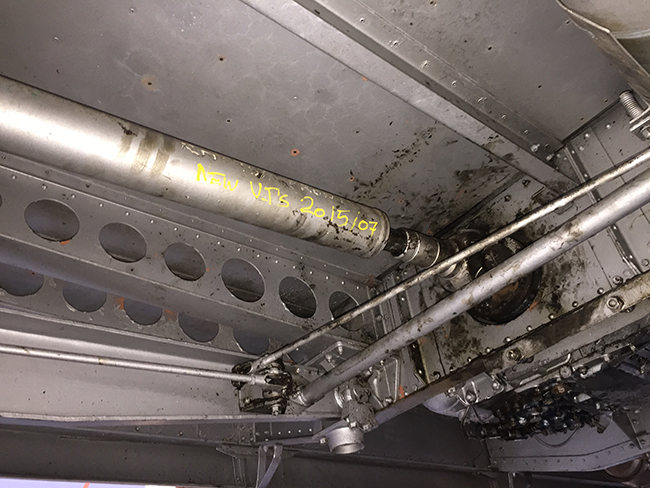
| Rear prop-shaft – gearbox connection; grease guard yet to be fitted. | Photo © GBishop 2015 |
Back in May, just after the MOT test, we noticed the rear differential was starting to get noisy on over-run. Advise was that this was the crownwheel bearings wearing out so, given our workload, we decided to source a replacement.
The first unit turned out to have suffered a catastrophic failure (one of the planet gears had ruptured, the spider was broken, the other planet gears had no teeth and both the crownwheel and pinion were missing teeth) so we acquired a second unit.
Queensbridge limited were able to rebuild this second unit and fit it with new bearings.
In order to confirm which differential we had (DU17, DU18 or DU21) we did a simple test – with the vehicle at one side of the yard we marked the rear tyre where it was touching the ground then, as the ’bus was driven slowly across the yard, every rotation of the wheel was marked on the ground. The ’bus was taken back to the start and a propshaft bolt was marked after removing the floor panel over the gearbox.
The ’bus was then driven forward ten complete turns of the back wheel and the propshaft rotations counted.
Since we have a standard DU17 there were 52 revolutions i.e. 5.22:1 (DU18 would be almost 48 i.e 4.77:1 and DU21 almost 41 i.e. 4.08:1).
By having a complete replacement differential RM1872 would be off the road for only one day. In the end it was two days because we changed the unit over two evenings. Total time to replace the unit was under 8 hours which is quite acceptable given the differential is not heavy or very heavy but EXTREMELY heavy !
It took three very strong fitters to put it into a car for transport between the Railway and the ’bus depot.
We put RM1872 on a vehicle ramp; pulled out the half-shafts and then lifted the ’bus.
After draining the oil we loosened the nuts and bolts before putting a hydraulic table under the unit. Having unbolted the differential from the axle we had to split the gasket line for which there are two very convenient tapped holes which allow you to “jack” the units apart.
The replacement unit was put on the hydraulic table with a forklift and was then trundled into position.
The ’bus was lowered down so the rear axle casing was within the lifting capability of the hydraulic table. This allowed the unit to be jacked up and carefully aligned on the studs – note the table and ’bus move in a vertical plane but the studs are inclined at about 40 degrees... As soon as we could fit a nut we did and once there were nuts top and bottom it was possible to complete the assembly and the table was removed.
One of the half-shafts was refitted to keep everything safe but the other wasn’t re-instated until after the propshaft had been refitted.
We have taken the opportunity to replace the universal joints on the rear propshaft so the whole final drive is effectively new.
For more information contact the South Devon Railway on 0843 357 1420 or by


